Creating a .kml file allows to locate the elements and circuits of your map with precision.
- Open a web browser using the following address: https://www.google.com/maps/d/?hl=en_US&app=mp
- Click on “Create a map”.
- Using the
 icon, enter a physical address in the search engine with an address you want to add on your map.
 - Click on “Add to map”.

- Type in the name of the element (by clicking on the small edit pen). Add text and photo elements to the element.
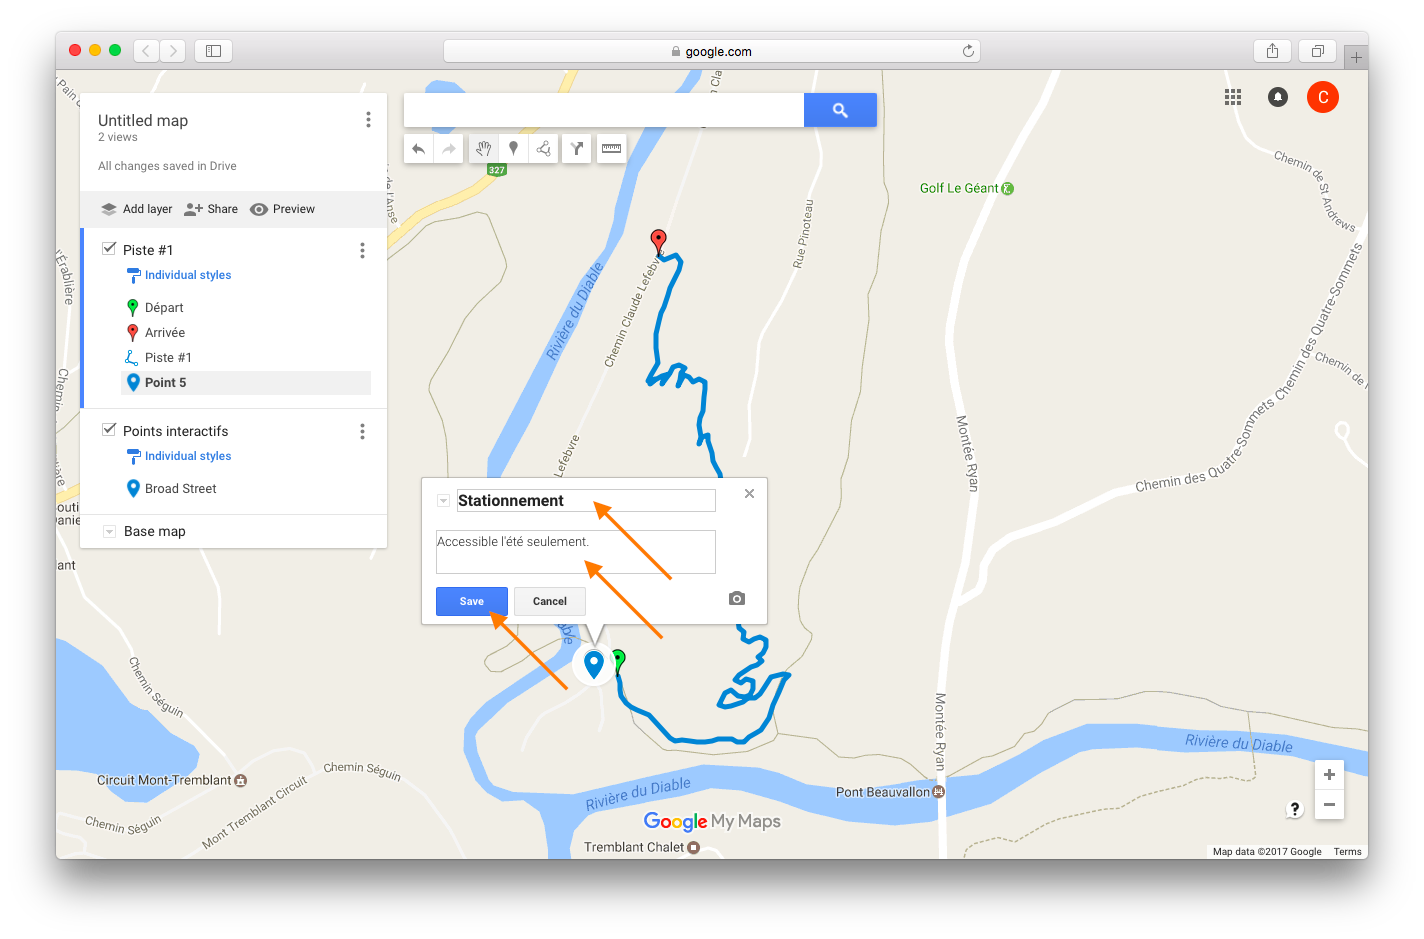
- Save this window and continue the same way with all the elements to add on your map. Don’t forget to save them as you go.
- You can also add trails and circuits to your map, using
 or importing your GPX files to the map.
- Export the document: click on the three vertical dots in the navigation menu, next to “Add layer | Share” to open the menu.
- Select “Export to KML”.
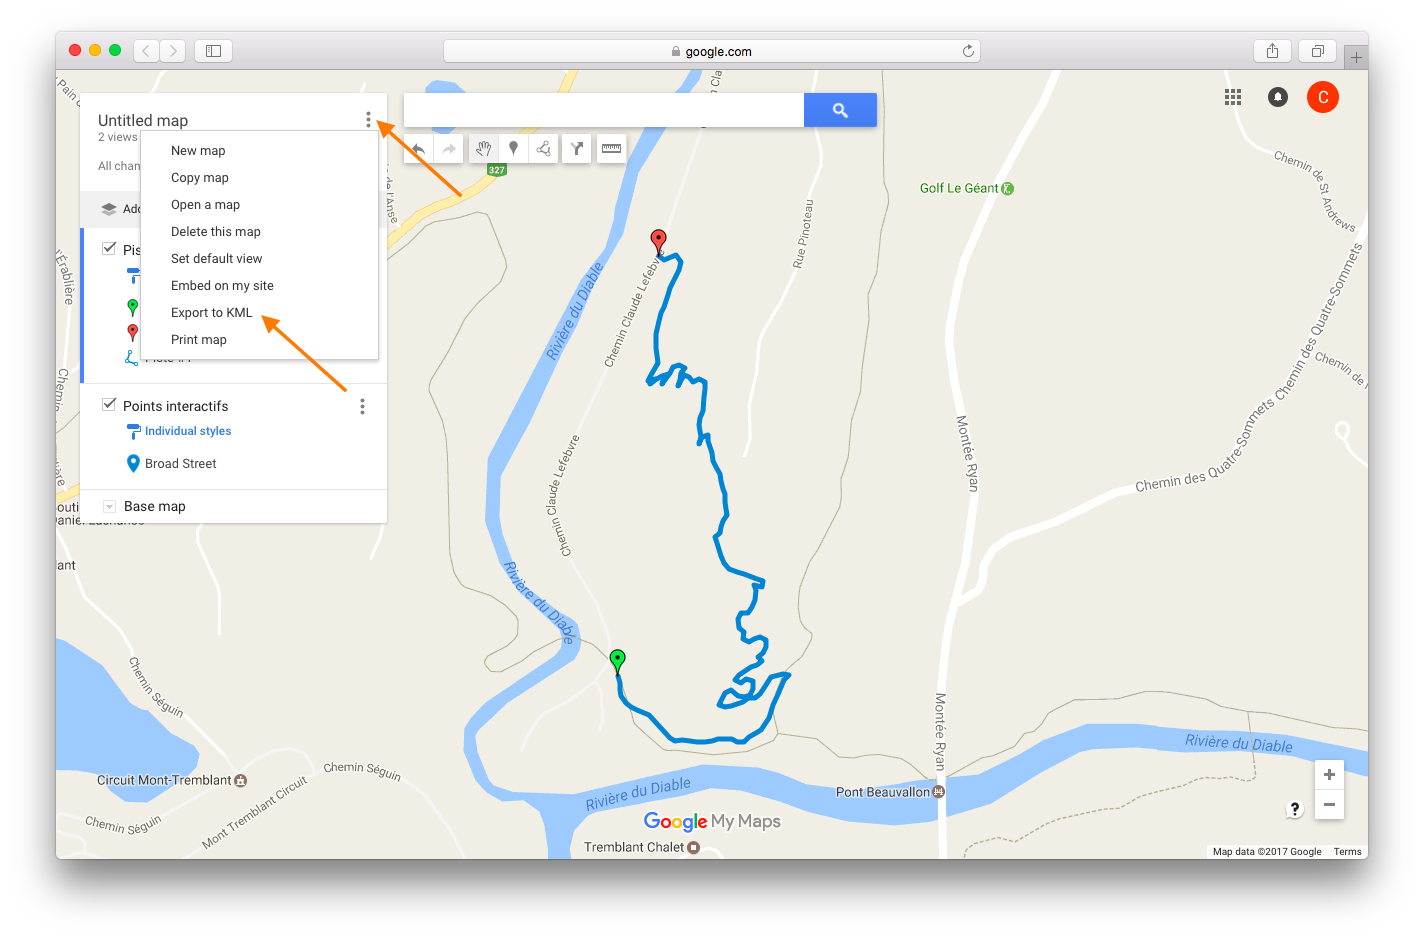
- Download the map with default settings.
